
 Makeover Your Fireplace on a Budget!
 Makeover Your Fireplace on a Budget!
Before Kevin and I first saw our house… and I’m talking before we even knew it was on the market or put an offer on the table… I absolutely knew I had to have a fireplace for our first home. It was on my must have list. In my mind, a room is 1000x cozier and more inviting with a blazing fire to snuggle beside.
So I when we first toured our home, the first thing I fell in love with was the double sided fireplace that divided the dining room and living room. When we moved in, I was on a mission to have it up and running ASAP!
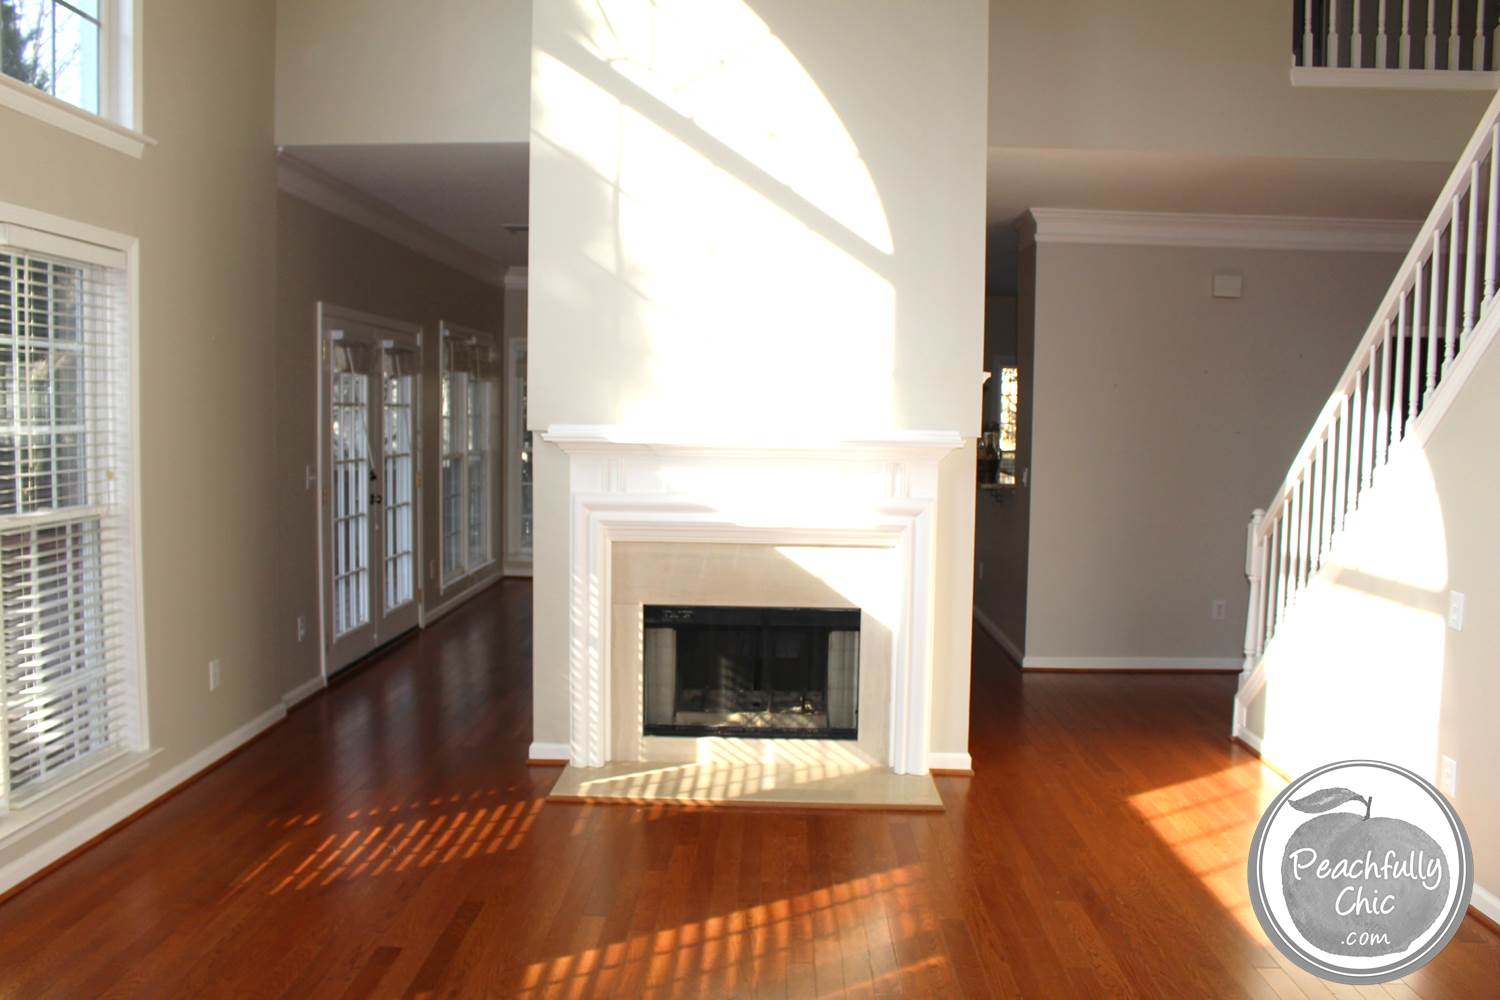
We called a local chimney cleaner and we were told that it looked like our chimney had not been cleaned in about 3 years. We were informed it was very important to have our chimney cleaned before trying to use it, because all the debris accumulated over the years could have sparked a fire! We definitely don’t need that happening….
So once that was taken care of, we discussed wood burning vs. gas options. Our fireplace was already set up for gas, but it looked like the previous owners had used traditional wood. Although the cost is a little more, the cleanup time is significantly less with gas and I don’t have to worry about smelling like a fire when I want to sit close to it (my hair literally traps every smell!). While he was at our house, we asked the guy to install the base of the gas log set that I purchased at The Home Depot, and then I planned on assembling the rest after I painted everything.
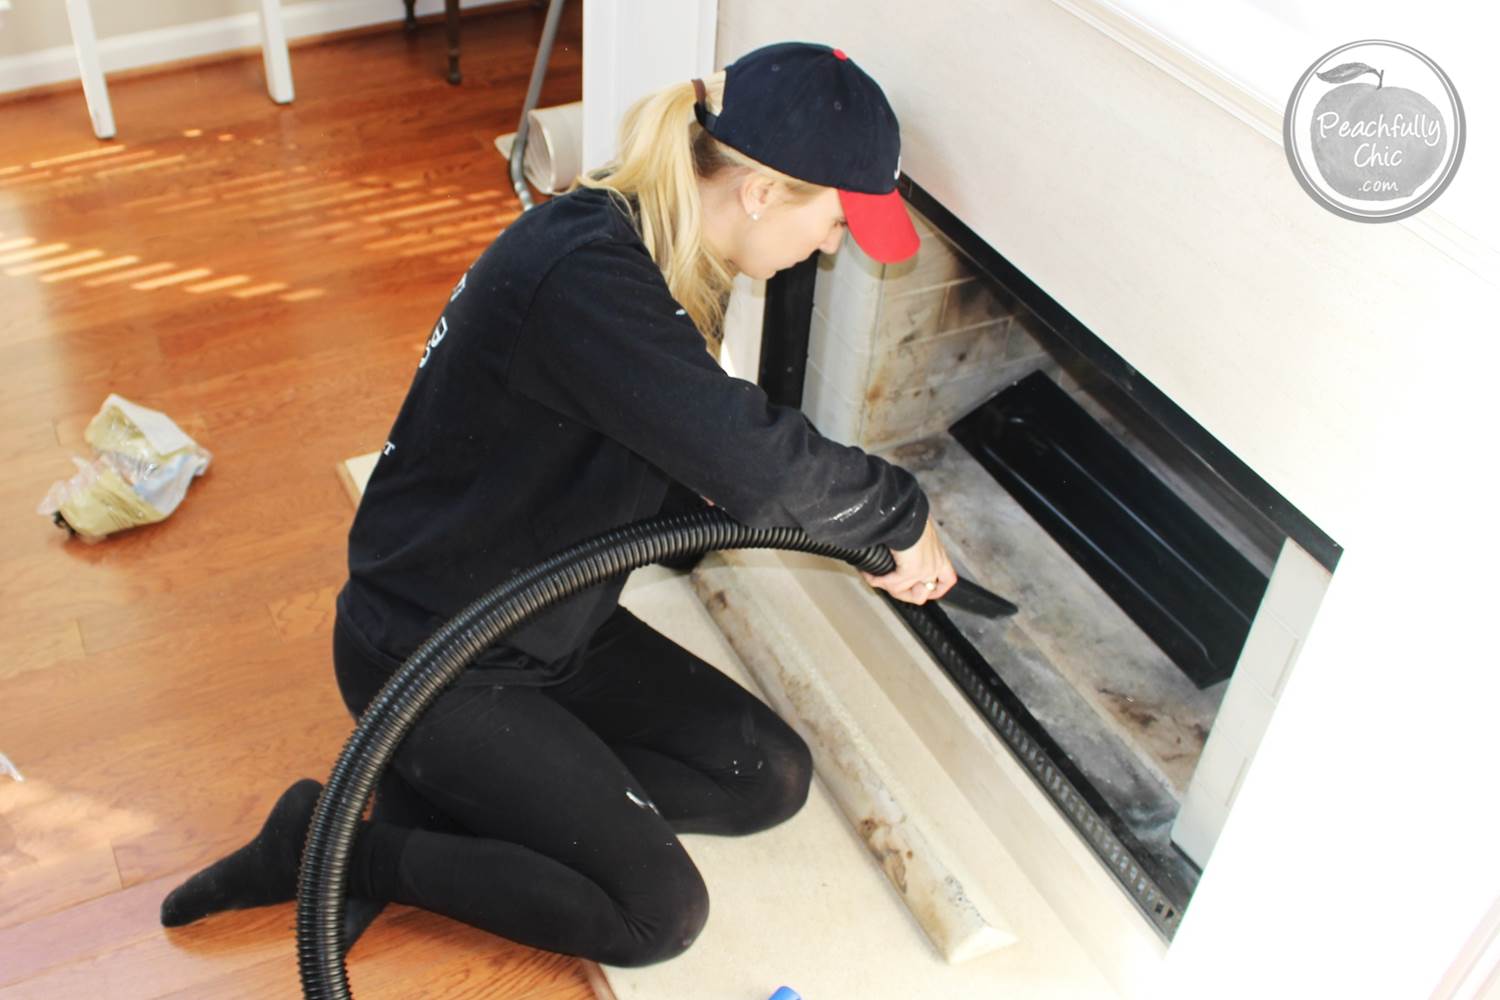
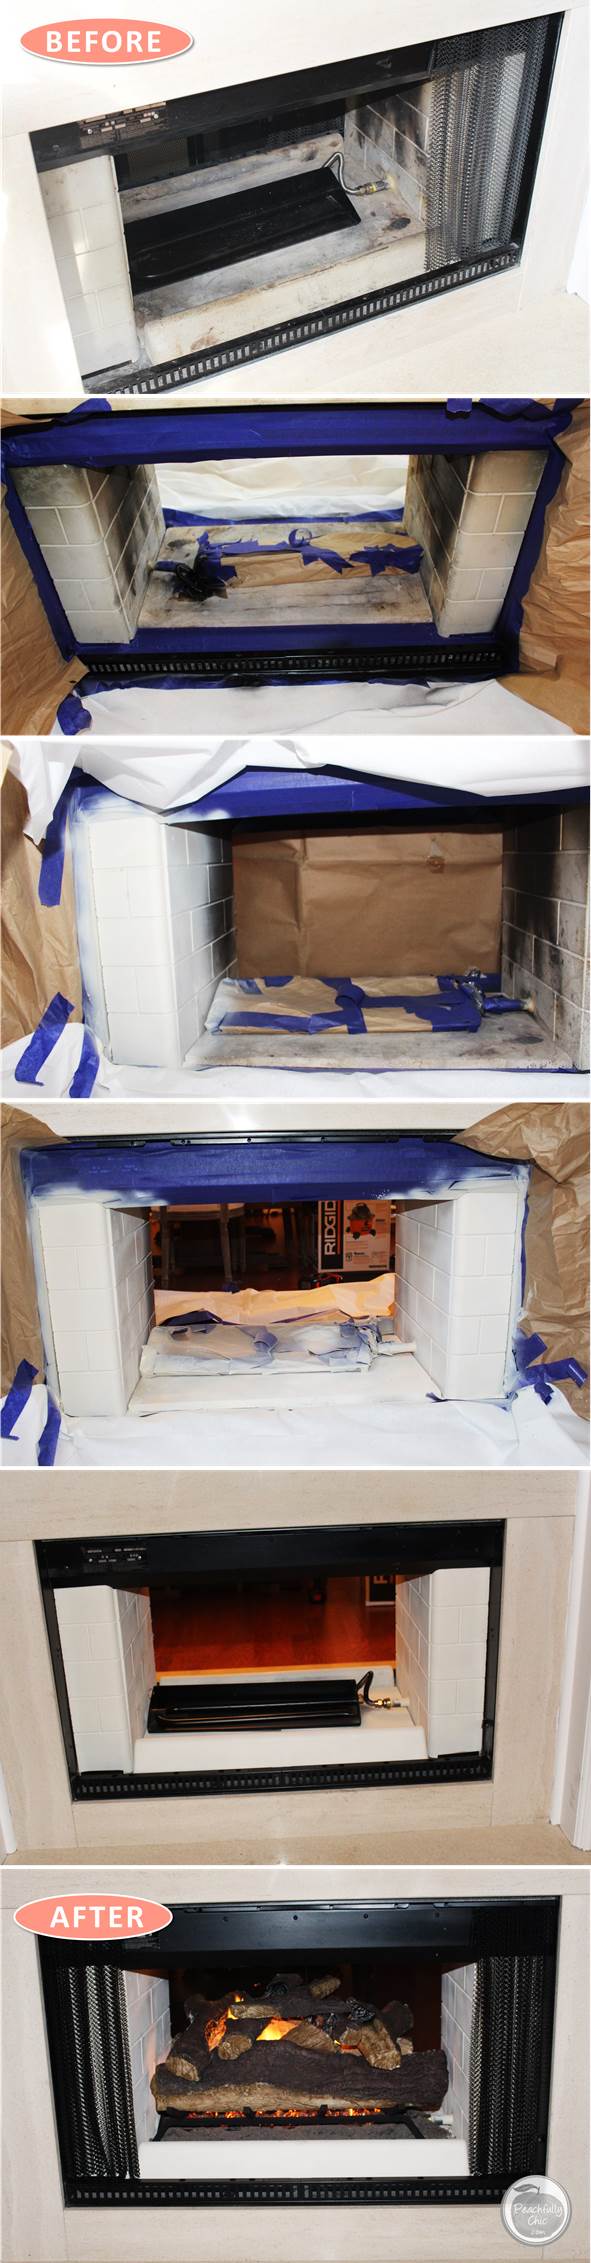
I started by vacuuming the fireplace with our wet/dry vac and removing the screens.
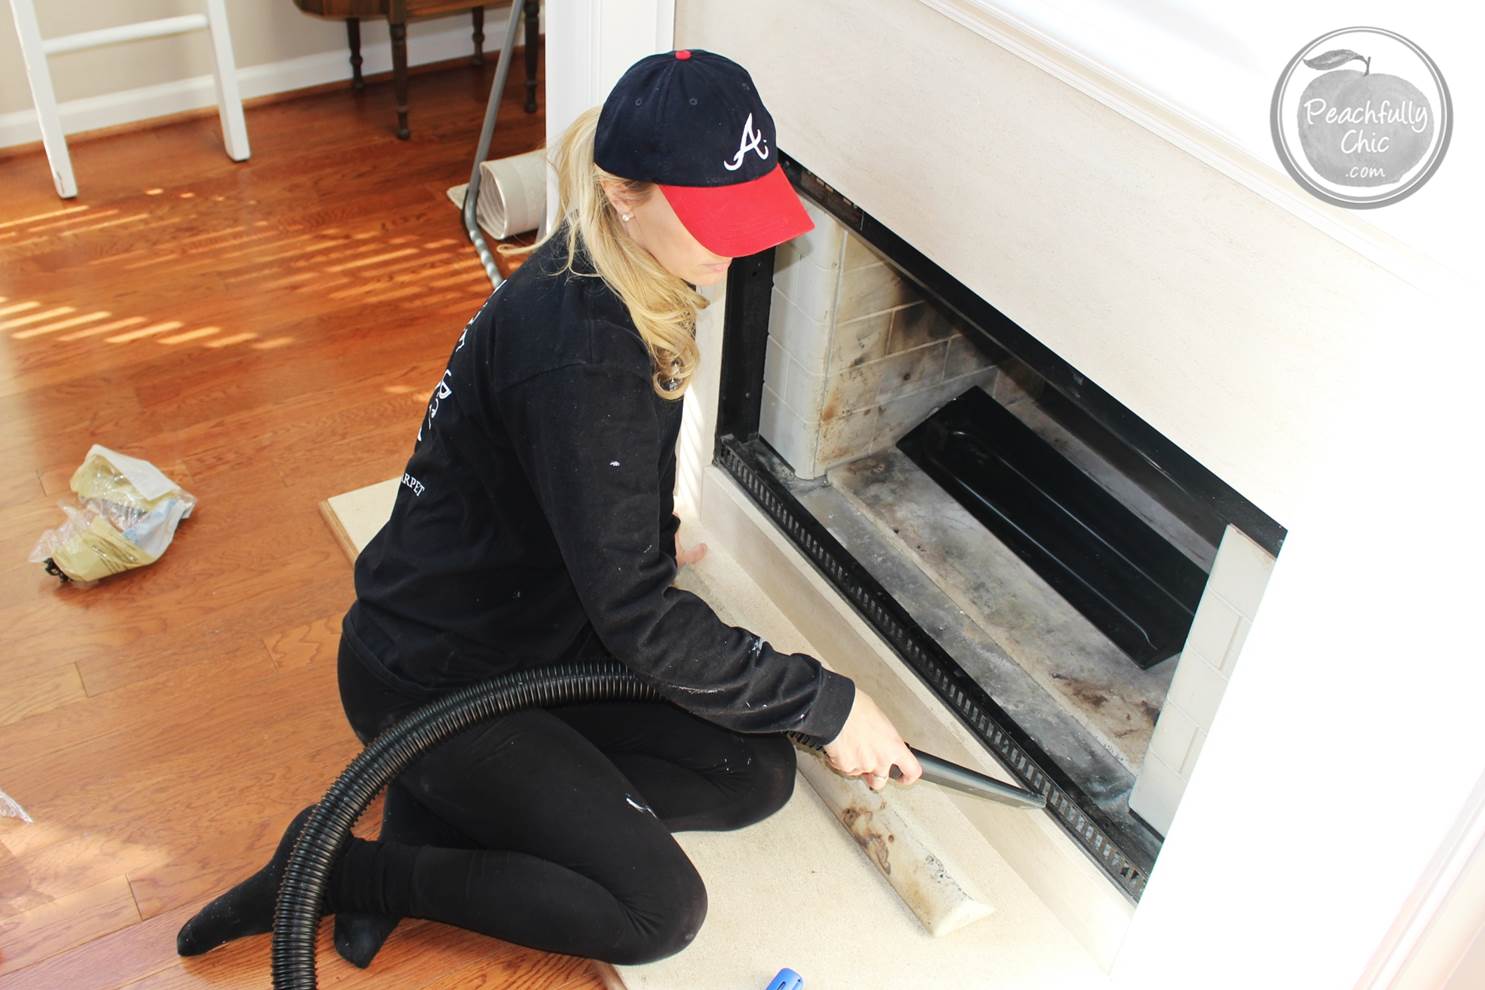 You can see the long dirty-white stone bar that’s in front of my knees on the marble hearth… I pulled that out of the fireplace since it just sits on the edge of both sides without being permanently attached.
I took both the stone bars outside and spray painted them with Rust-Oleum High Heat Cream Spray Paint from The Home Depot.

It’s crazy how much of a difference a simple coat of paint can make!
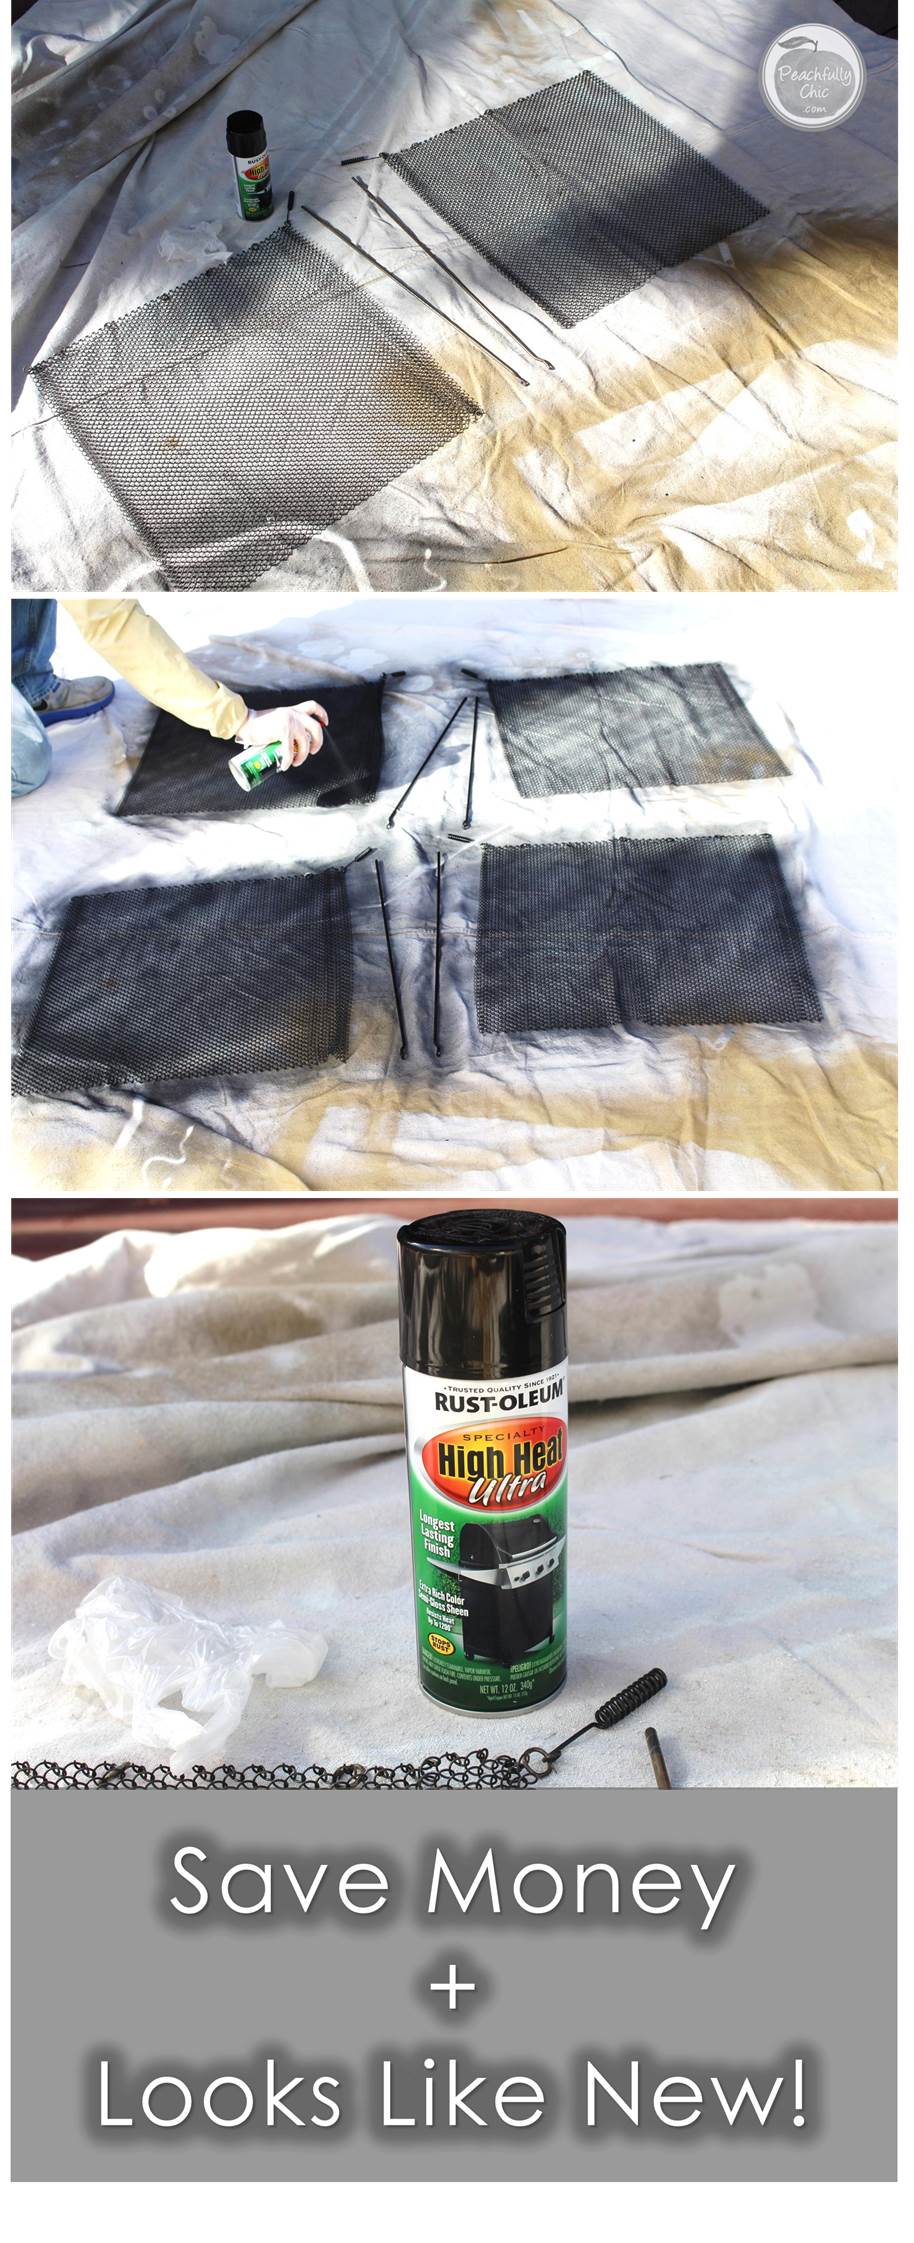
Next I took the screens outside, and spray painted them with Rust-Oleum High Heat Black Spray Paint from The Home Depot
 Next, I began taping off the entire border of the fireplace on all sides with painter’s tape, brown packing paper, and disposable paper dropcloths.
Because I was using spray paint, I knew I needed to make sure I taped everything off very well to avoid over-spray… especially since our fireplace was open on both sides. I made a make-shift tunnel that surrounded me when I painted the inside of the fireplace.
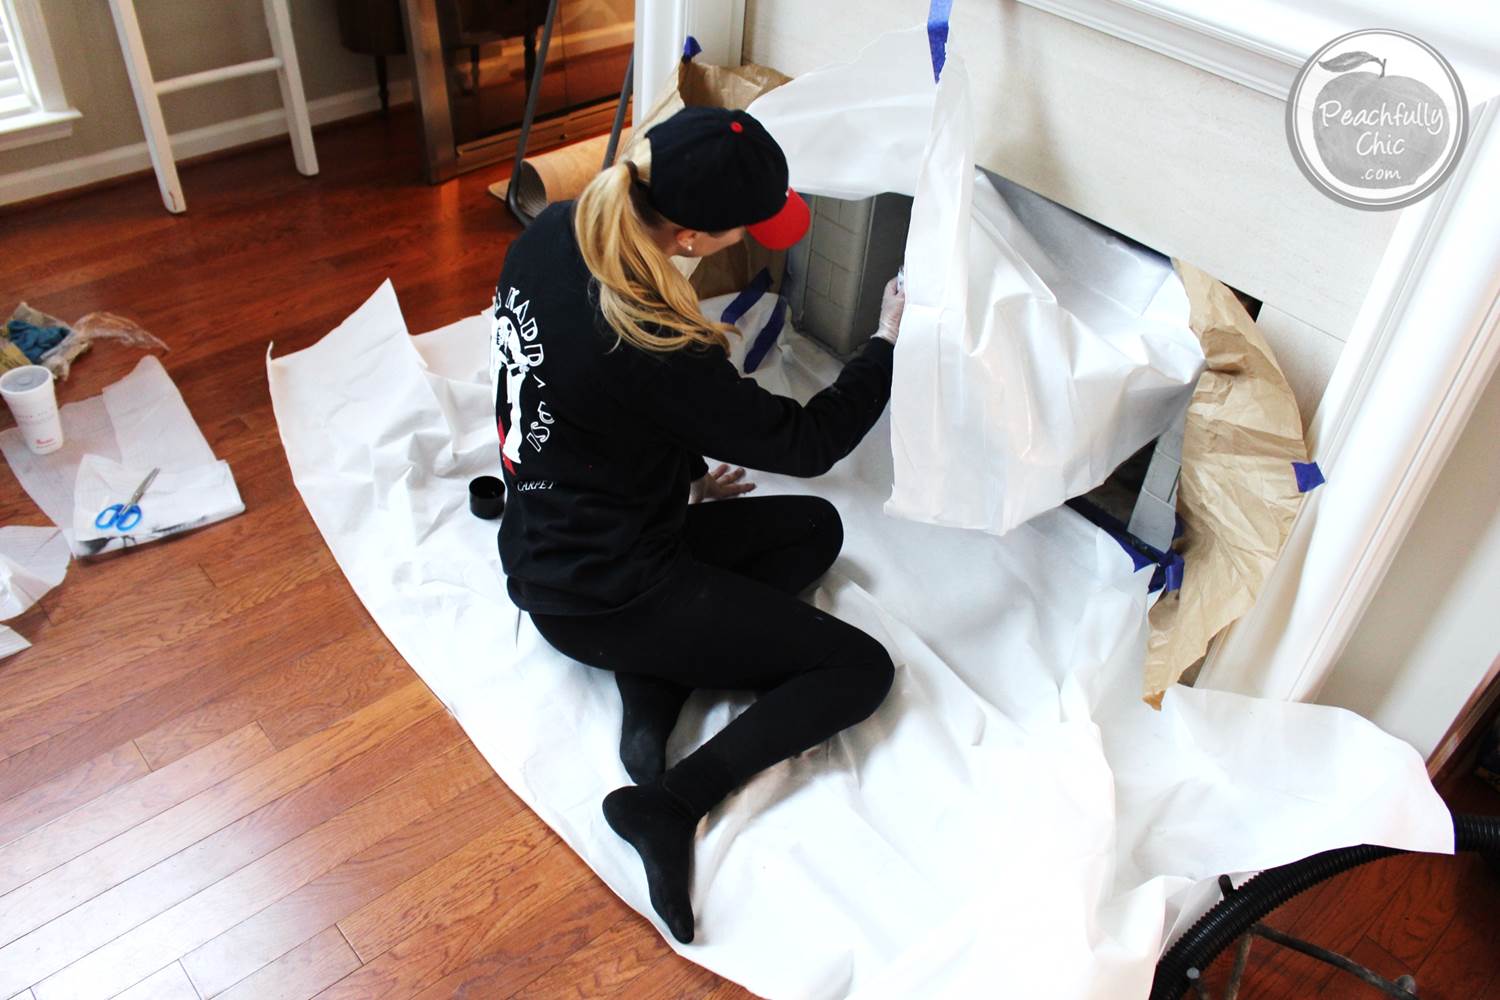
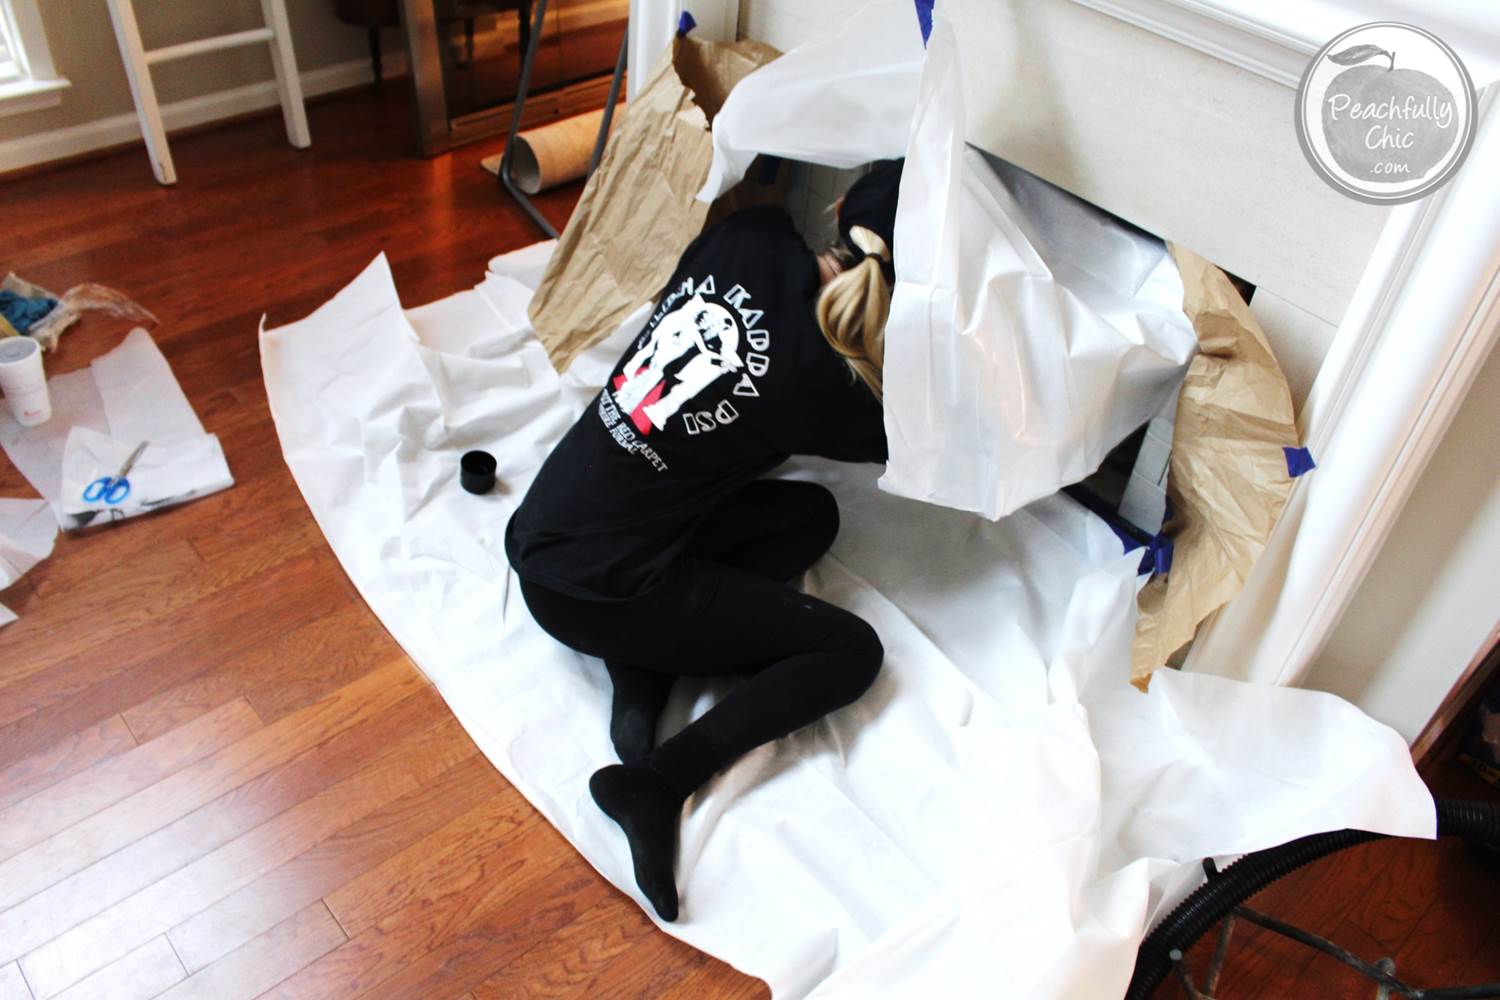
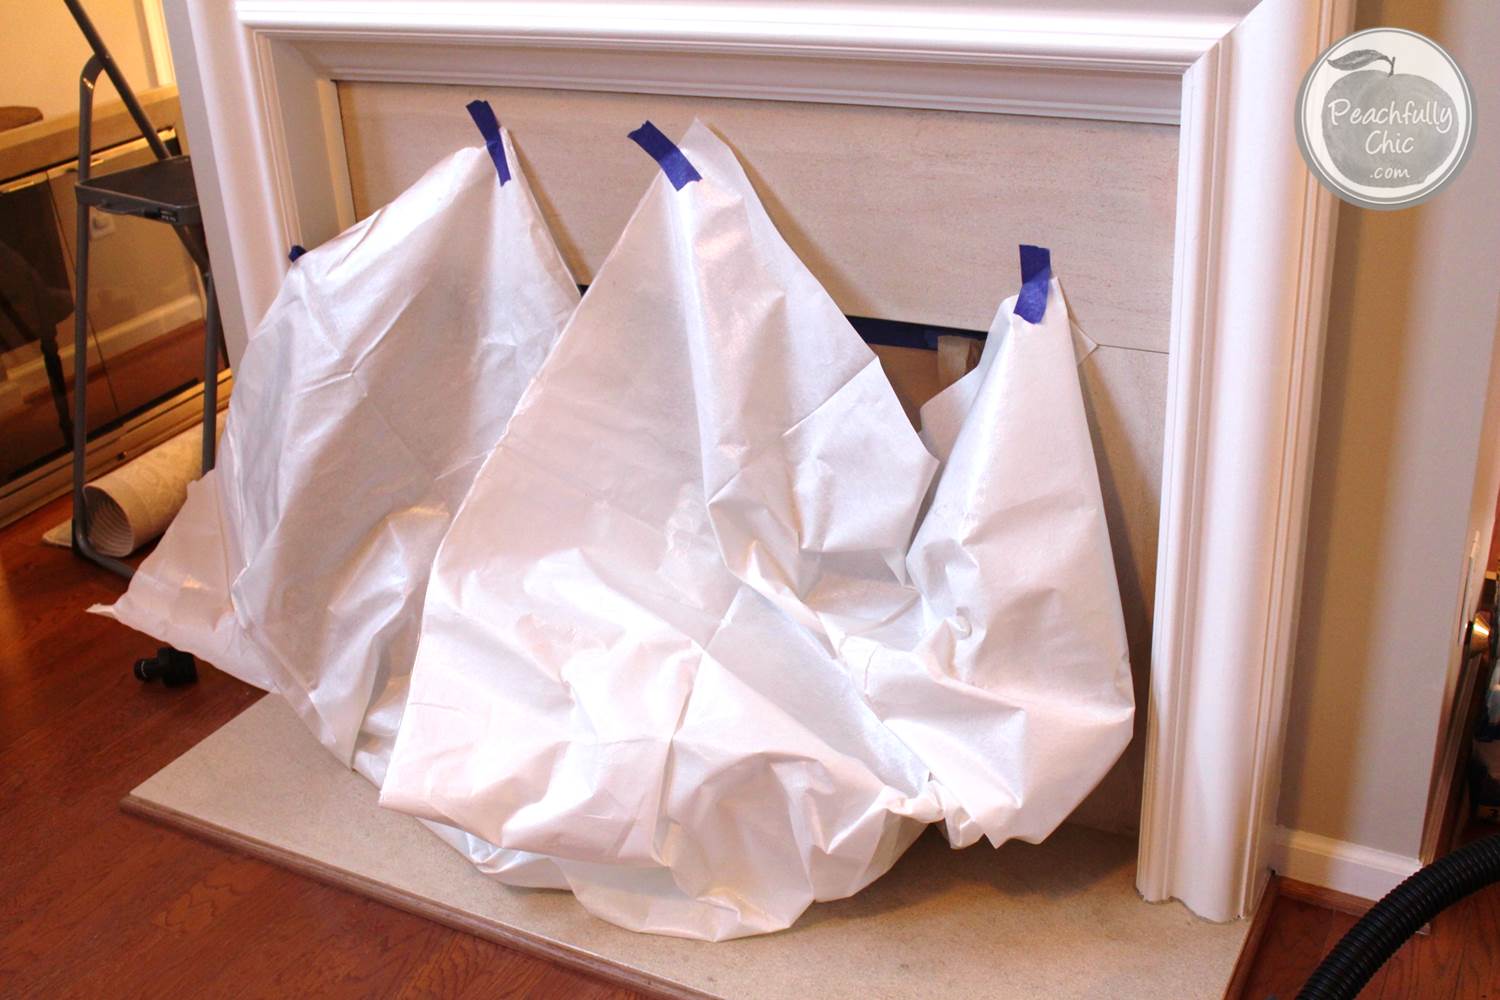
I taped up the back side of the fireplace while I sprayed the front (see above pic), and then switched sides and taped up the front while I painted the back.
Before painting the cream spray paint over all the stone, I spray painted the black accents.
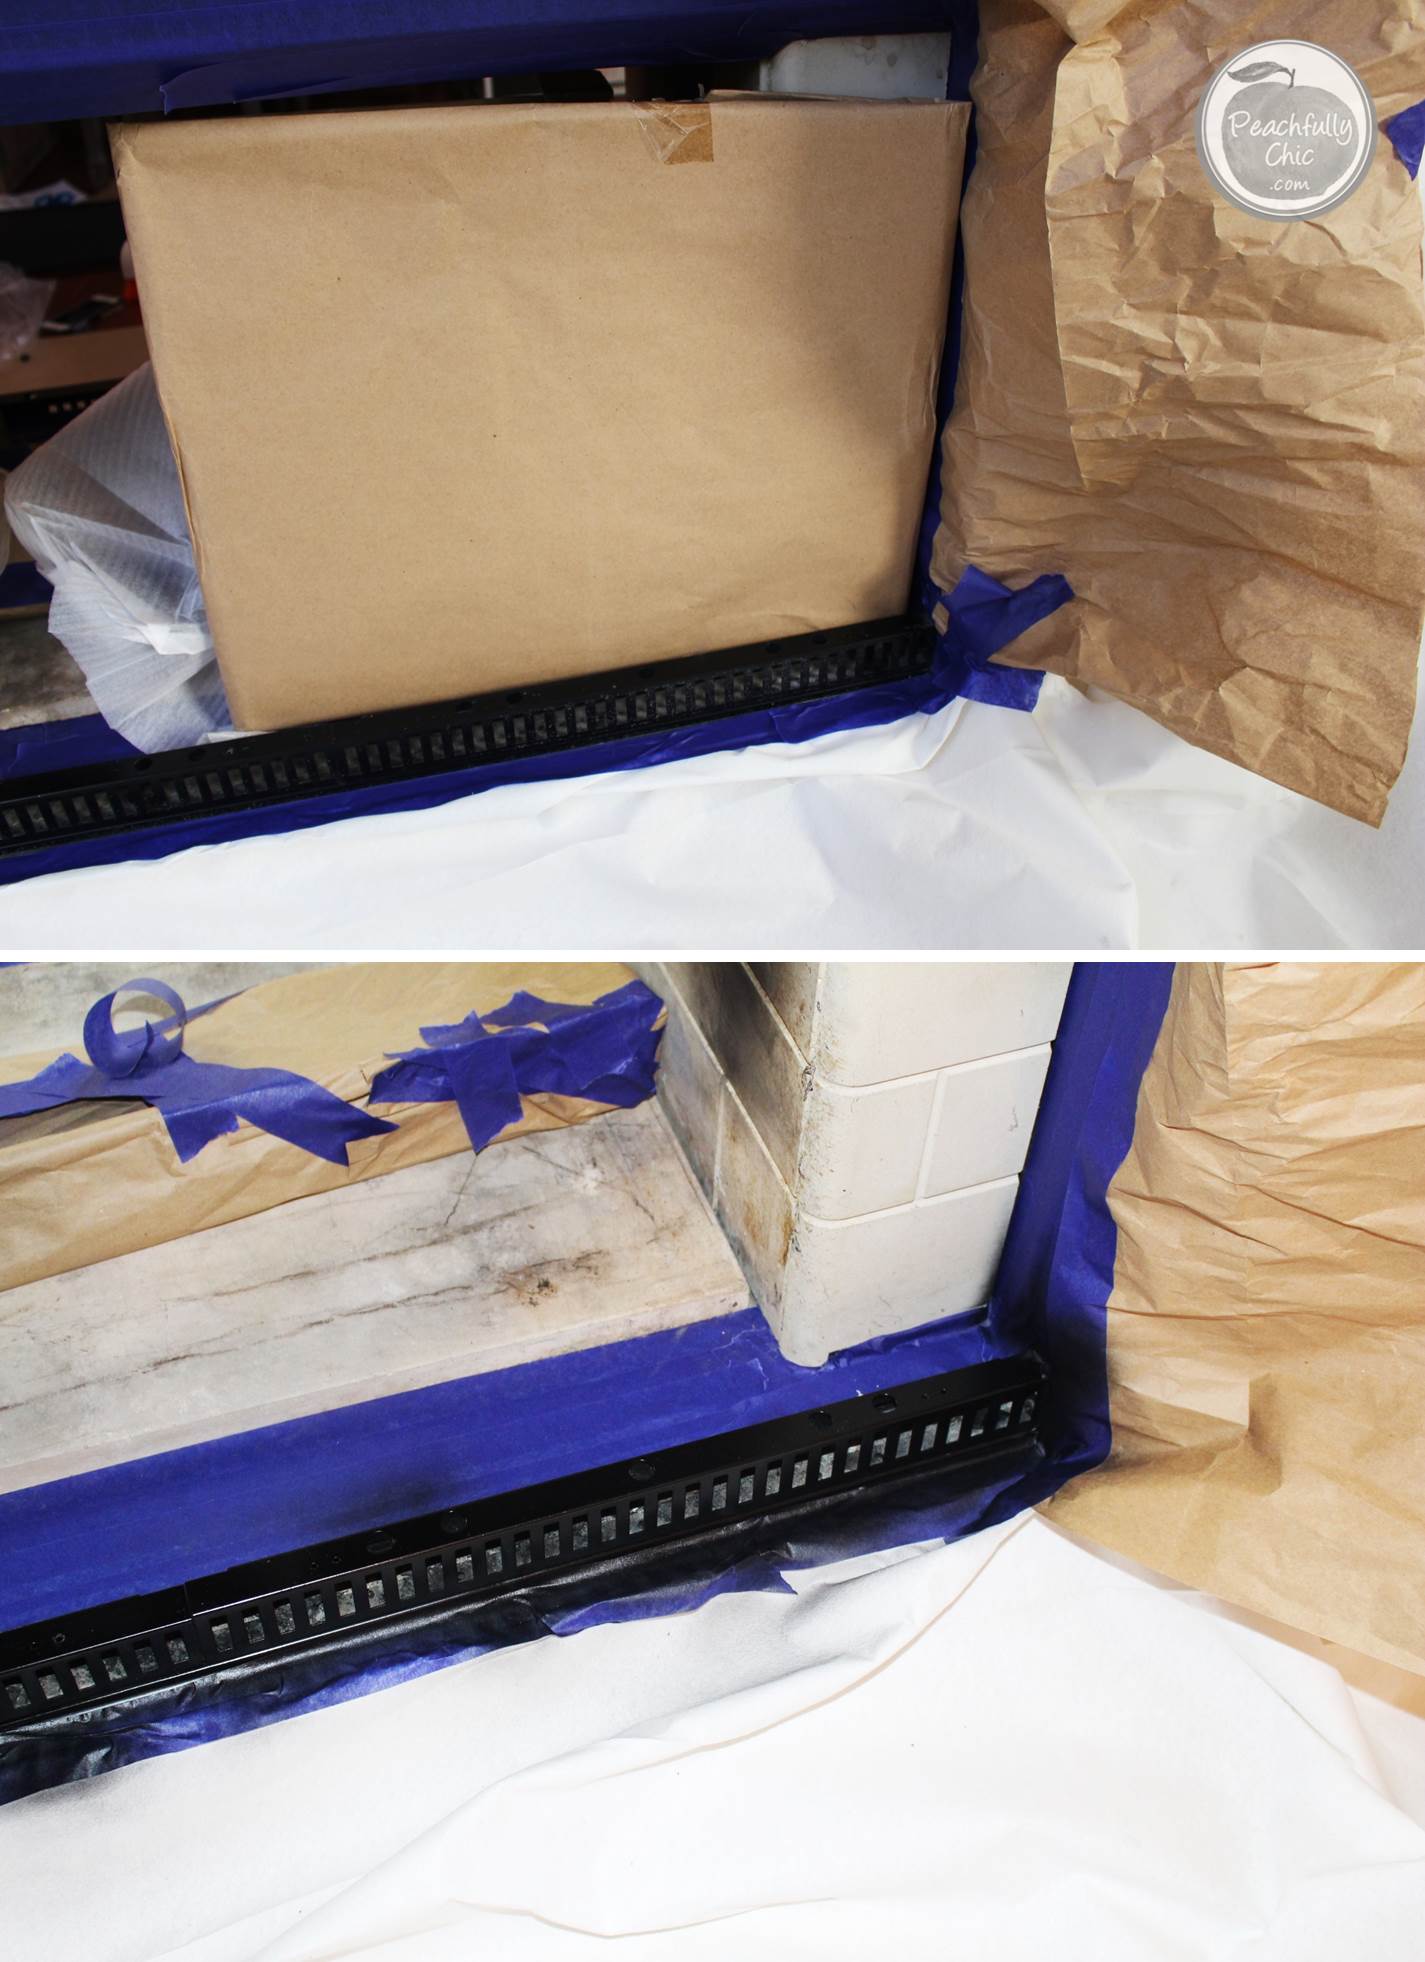
After I had given enough time for the black spray paint to dry, I then taped over all the black metal to protect it from the cream spray paint that I used on the stone.
Our chimney guy told us that there may also be a slight gas smell when using the fireplace, but I really don’t notice it – and I have a nose like a blood hound.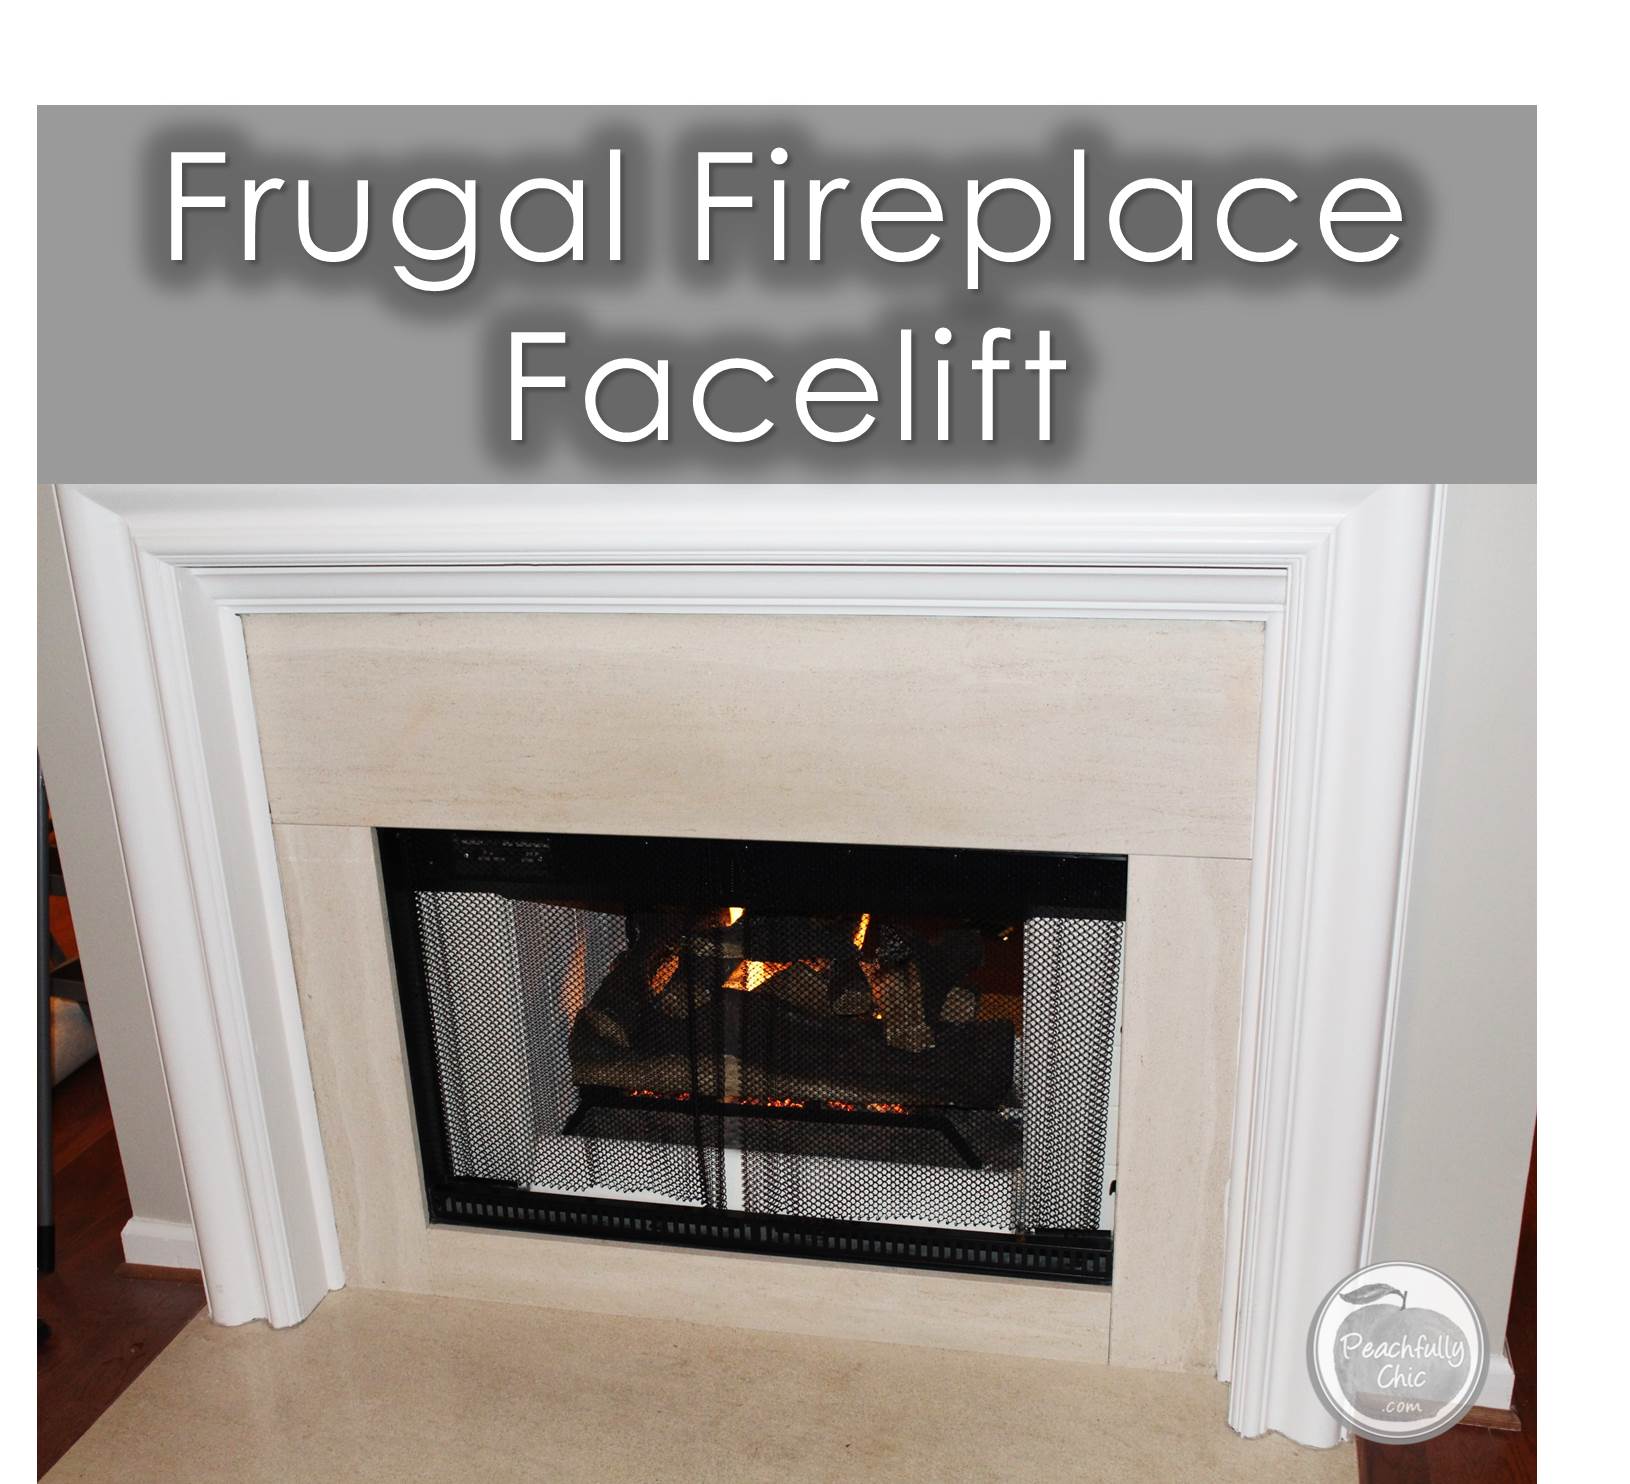
So that’s the overview of our Frugal Fireplace Facelift! The spray paint was less than $4 per can (we used a one can of cream and one can of black), a roll of painters tape, the brown package paper, and the $6 paper drop cloth. All in all, this whole Frugal Fireplace Facelift cost less than $20!!!!
You can’t beat that! 🙂

Wow, that came out awesome!
Thanks Christine! Yeah, I was so pleased with the difference and really surprised at how inexpensive it was to do! 🙂