How To Make Your Own Chalkboard Signs:
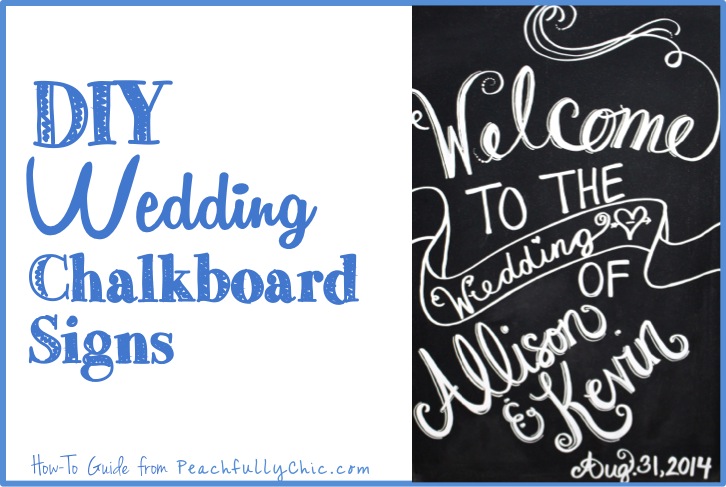
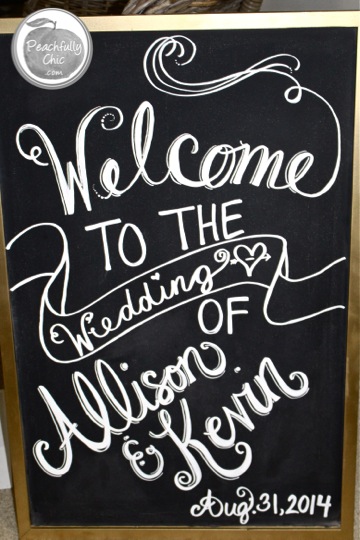
Because we’ve got an abundance of pinterest inspired ideas floating throughout our wedding, I wanted to share with you this DIY Wedding Chalkboard Signs tutorial.
After searching high and low for something I liked within our budget, I decided if we were going to have three chalkboard signs at our wedding like I wanted, I would just end up having to either compromise and only purchase one pre-made sign, or make my own and actually have three signs.
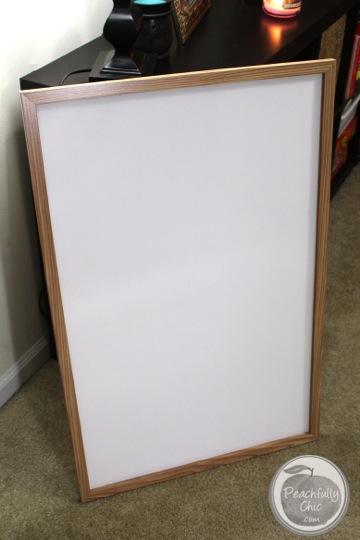
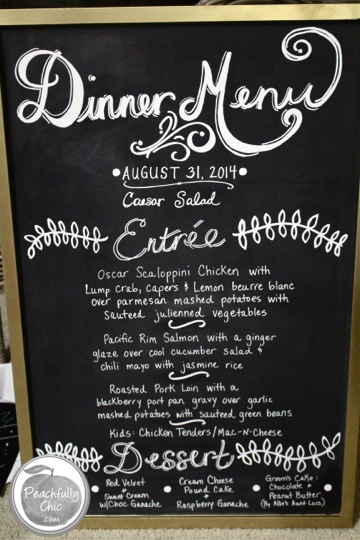
We found some great 2’x4′ white dry erase boards at The Home Depot while picking up some plywood for our DIY Love Marquee Letters, and decided to go with it since they were a great size and seemed to be perfect for what I was looking for. We bought 3x boards so that I could use the two for a chalkboard welcome sign and dinner menu sign, and the third for the wedding seating chart board.
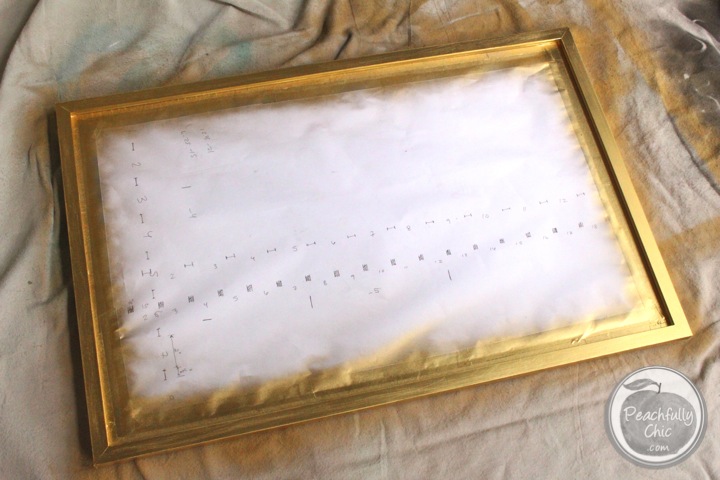
The boards we found were already framed in a simple small edge, so we just decided to spray paint those with gold metallic Rust-oleum and call it a day. I was really hoping to find a good deal on some giant ornat frames from the Goodwill, but after giving myself about two months of searching the various locations around Atlanta and the surrounding suburbs with no luck (there were a few that looked ok, but they were all $35+ and that was going to add up quickly when I needed three of them), I was thrilled to find the simple boards at THD for less than $15 each.
Instructions:
[accordion title=”Step 1: Tape Off the White Board + Paint the Frame”]Step 1: Tape Off the White Board + Paint the Frame
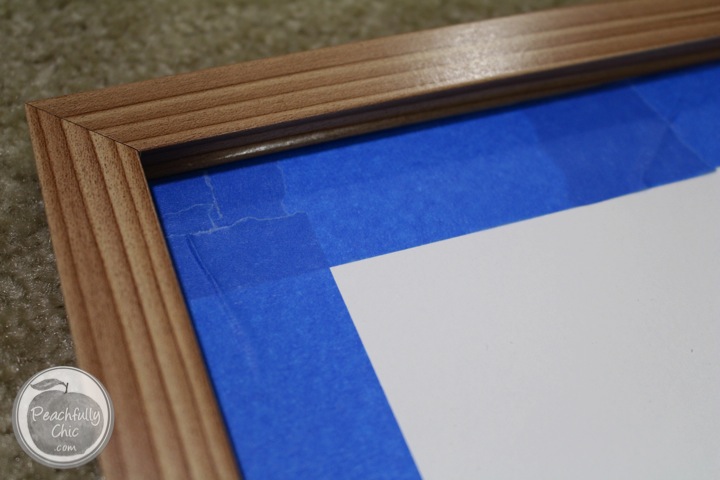
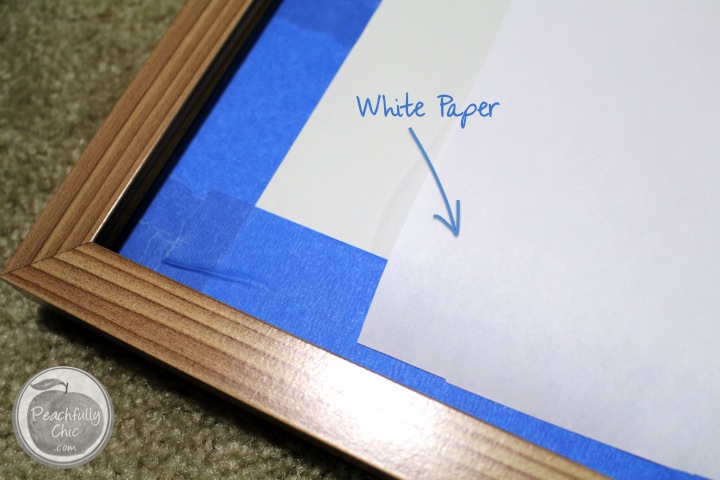
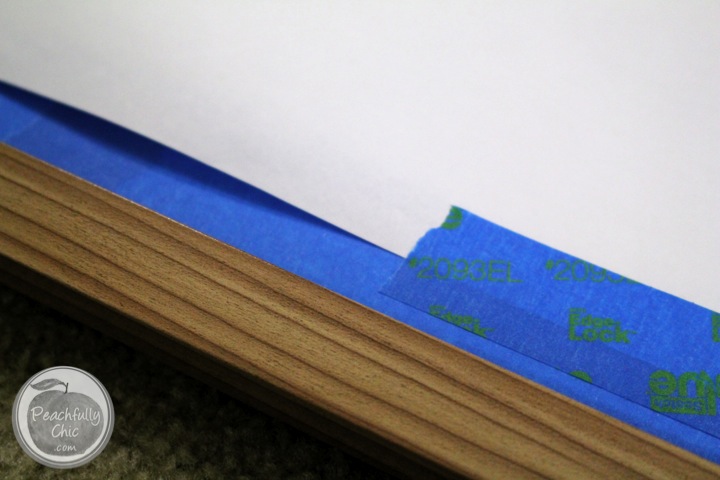
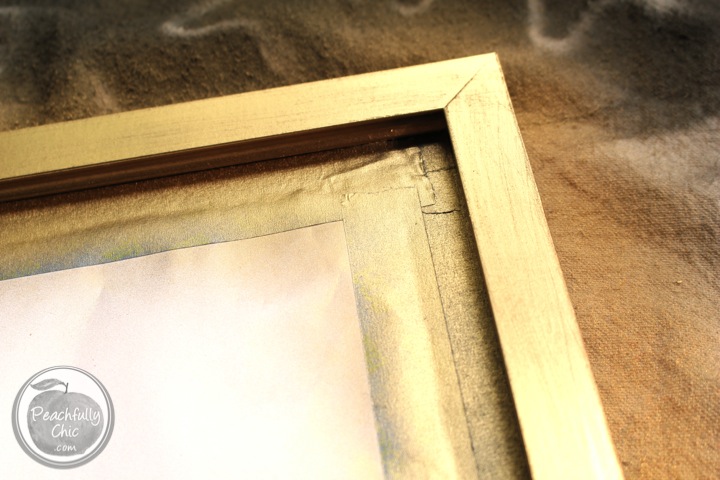
We taped off the white board with blue painters tape, and I cut a large piece of white craft paper to cover the middle of the board while we sprayed the edges.
Make sure you use light, even coats of spray paint as you go to avoid drips. The paint drys fast (as long as you’re not painting on a humid day – which you shouldn’t be anyways) and you should be able to add several more coats every 15 minutes or so. I was good to go after two coats, but did three for good measure.
[disclaim]
OPTIONAL: Sanding the frame first.
On the first board, I sanded the edges of the frame by hand with a fine 220 grit sandpaper. This left a lot of scratches on the frame that I was not anticpiating, and I didn’t like it, so I did not sand the other two board frames that I was working with. I can say that the paint definitely stuck better to the frame I sanded (less nicks in transport), but it’s up to you if you can live with the scratches showing through a little.
I probably would have not sanded any of them if I had to do it again, but the surface on the frame looked too shiny to hold the spraypaint well and I just didn’t know how it would take. It wasn’t a big enough deal that it ruined the look, but I can tell which frame I sanded if I have all three boards beside each other. If you decide to sand the frames, make sure you wipe away the dust before you spraypaint them.
[/disclaim] [/accordion] [accordion title=”Step 2: Remove the Painters Tape + Clean the White Board”]Step 2: Remove the Painters Tape + Clean the White Board
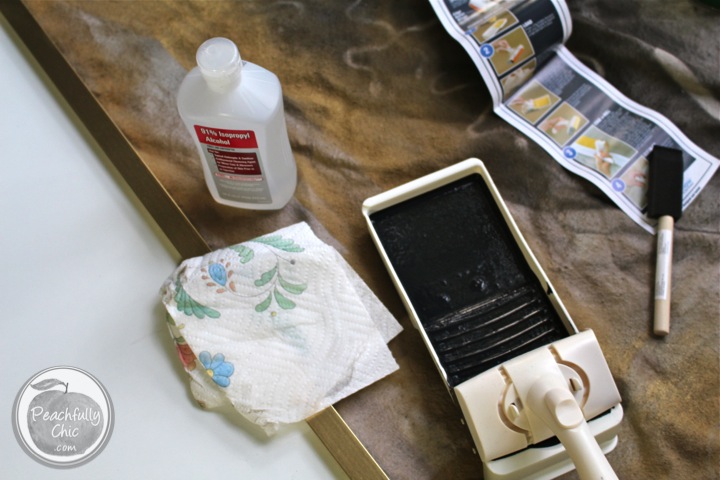
Use a paper towel and some rubbing alcohol to wipe down the dry erase board before you use the chalkboard paint. The surface should be clean.
[/accordion] [accordion title=”Step 3: Prep Your Paint Supplies + Go!”]Step 3: Prep Your Paint Supplies + Go!
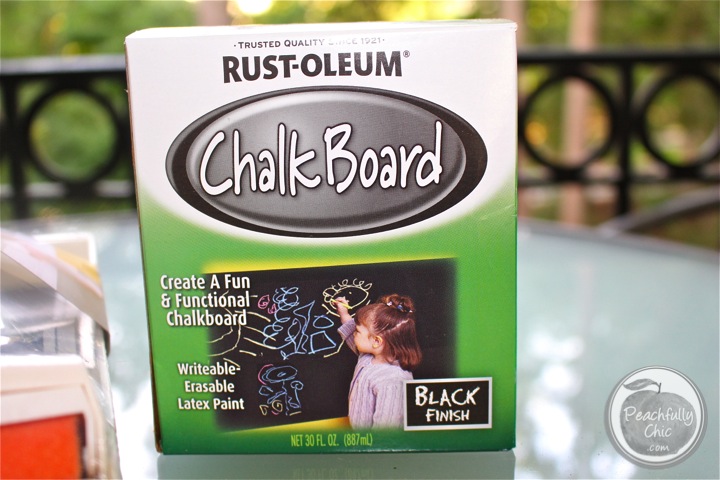
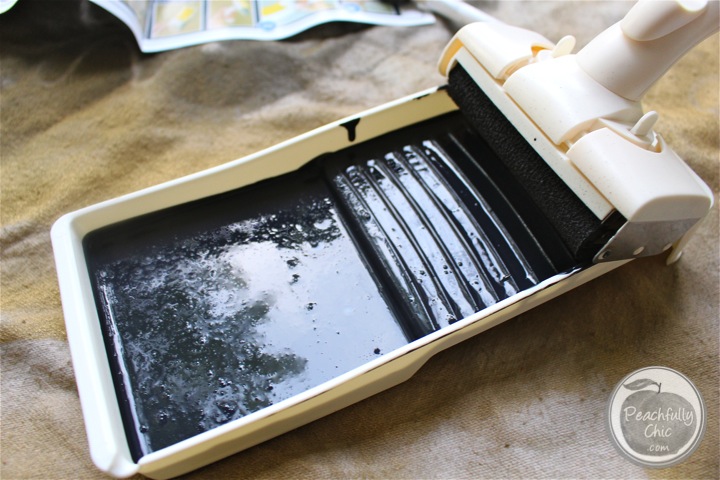
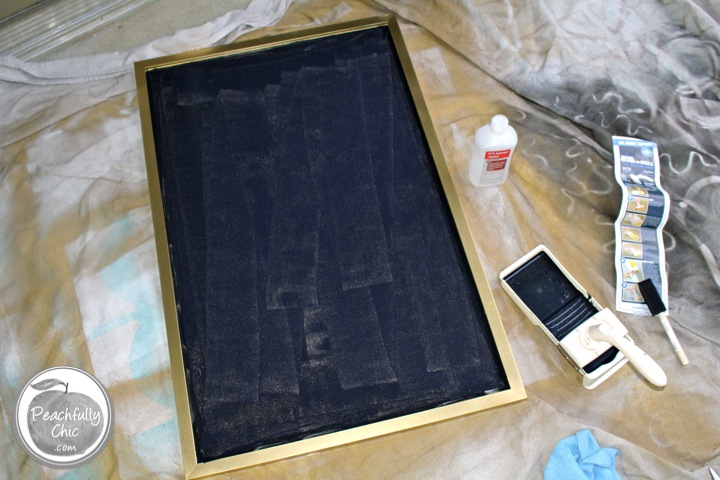
I used Rust-oleum liquid chalkboard paint in a can from The Home Depot, instead of the spraypaint version. I’m sure you would be fine using either, but I chose to use the 30 oz. can of paint with a roller because of the slick shiny surface of the dry erase board. In my mind it made sense that the thicker liquid paint would adhere stronger; however, that’s completely made up and I have no proof of my philosophy – haha! 😉
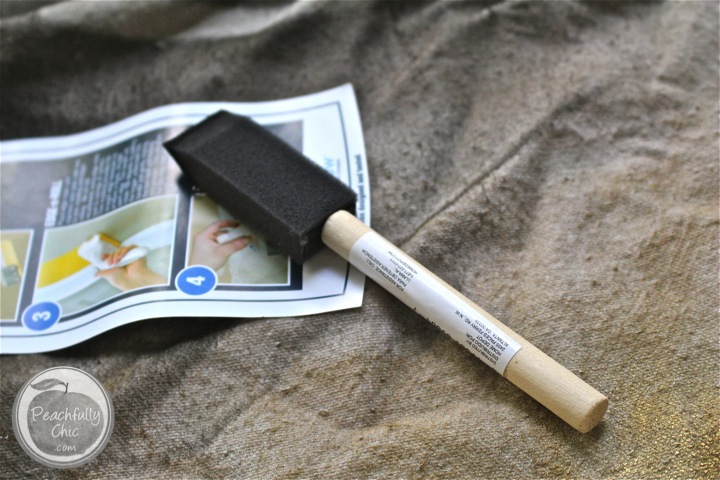
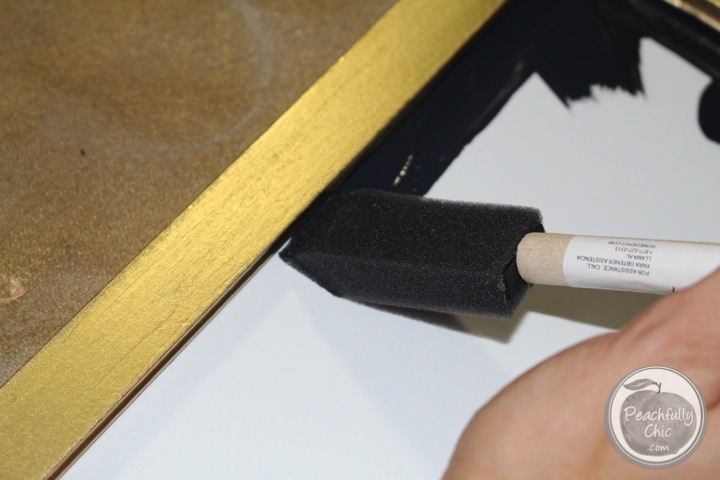
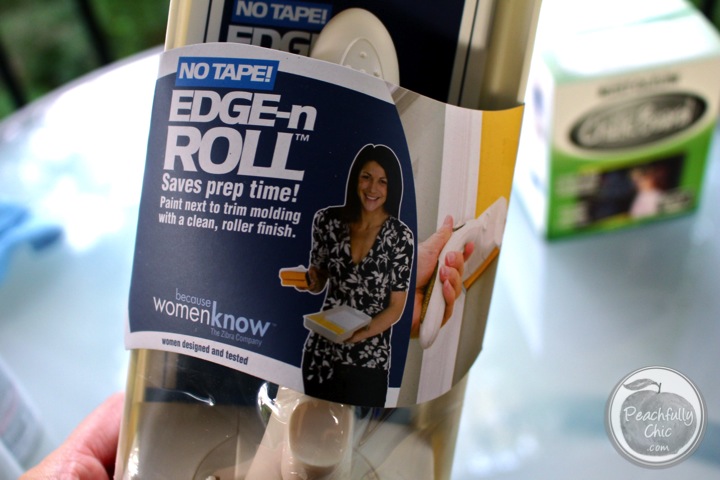 We bought the Zibra Edge-n-Roll 3-Piece trim toolkit and it was so fantastic! It came with a paint tray, roller, handle and gaurd. The only extra thing I bought was a small 1 inch poly foam brush to get a little closer to the edges. We decided not to tape off the freshly painted gold frame though after starting to do so and realizing that it was pulling the paint up. I just free handed the edges of the white board next to the frame with the foam brush and was happy with the time it saved to not tape it off.
Because we waited until the weekend before the wedding to do this task, I only had enough patience to allow for 2 coats. I would have preferred 3 coats of paint, but no one could tell except for me!
[/accordion] [accordion title=”Step 4: Wait 3 Days”]Step 4: Wait 3 Days
VERY IMPORTANT: After you paint the chalkboards, you are supposed to let them cure for 3 days before priming them. This was torture for me. They looked ready to go the next morning, but I wanted to do this right…. so I waited.
[/accordion] [accordion title=”Step 5: Prime It (Rub With Chalk + Wipe Down)”]Step 5: Prime It (Rub With Chalk + Wipe Down)
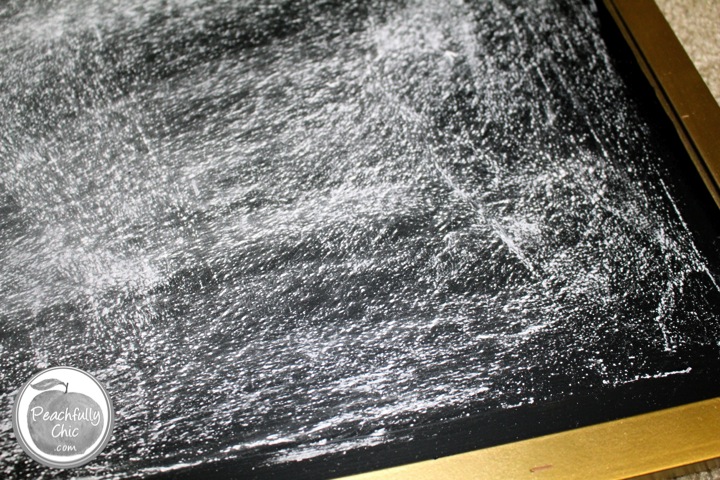
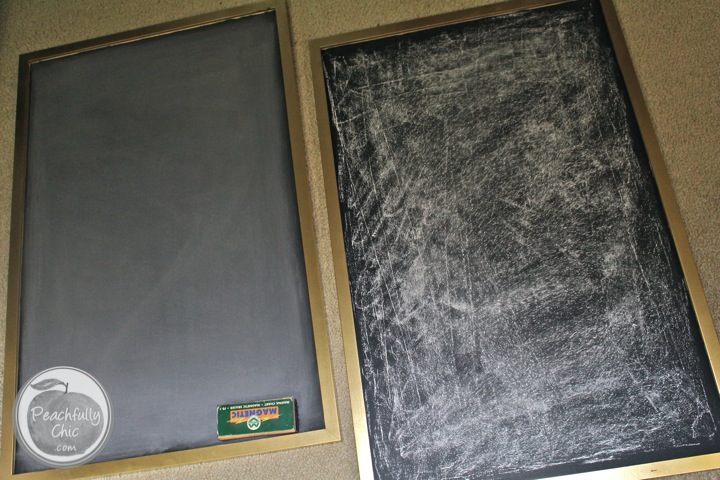
Before you start writing on the boards, you need to prime them. All that means is that you take a piece of old school chalk, and rub it on the blackboard you just painted. Then you take a clean dry rag and wipe down the board. You’ll see the board is no longer stark black and it has a little lighter color, but this is to make sure that the board is primed and ready for your amazing calligraphy skills!
[/accordion] [accordion title=”Step 6: Grab Your Chalk + Design Away!”]Step 6: Grab Your Chalk + Design Away!
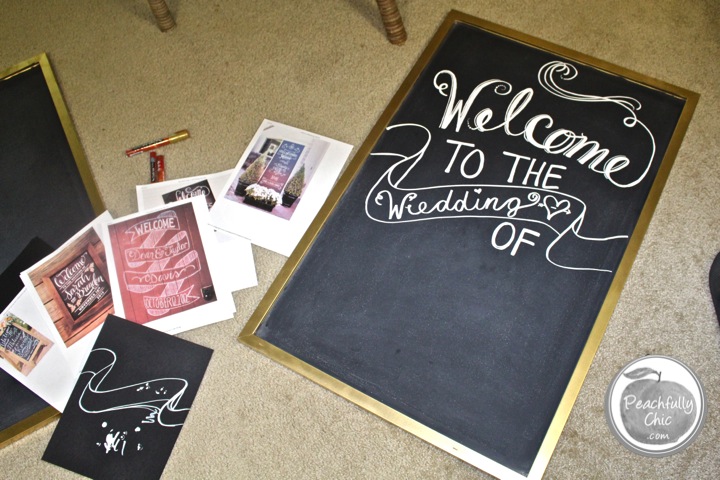
I ordered a bunch of chalkboard markers directly from Chalk Ink’s website, but you can also find them at local craft stores like Hobby Lobby, etc. Although I ordered about 7 different markers in total (5 different sized white ones, a baby blue, and a gold pen), I only ended up using 2 for my signs: the Chalk Ink 6 mm Chalk White Wet Wipe Marker and the 1 mm Chalk White Wet Wipe Marker. I was a little over zealous and had no clue how many I would need for my signs, so now I’ve just got extra chalkboard markers for future projects!
This was my first time using the Chalk Ink markers, and while it took a few minutes to get the ink flowing, I was extremely impressed at the crisp clear writing they provided. Definitly a worth while investment to create a more polished look at your wedding than using typical dry chalk.
[/accordion] [accordion title=”If You Make a Mistake Writing With the Chalk Ink Markers:”]If You Make a Mistake Writing With the Chalk Ink Markers:
There’s an easy tutorial video on the Chalk Ink website, but you can literally just use a little windex and a paper towel to wipe off your mistake.
The only draw back to that is that you are left with a stark black spot on your chalkboard that stands out from the rest of the area you primed… which in that case I just used the dusty rag from step 5 over the spot I cleaned and it blended the clean spot in nicely.
[/accordion]Success!
I think everything was a success. I just googled some inspiration for our “Welcome” sign, because I couldn’t decide what type of design we should include, let Kevin pick his favorites, and then just incorporated those designs he liked. The boards travelled to the wedding successfully (they were crammed in my 4Runner) without any nicks in the chalkboard writing, so again, I think the Chalk Ink markers are well worth the value. You can check out photos the the boards in action at our wedding ceremony and our wedding reception.
The project to create three chalkboards with painted frames ($15 each), Paint ($14), Paint Supplies ($15) and the markers ($10) cost us around $85 total. Maybe you could have found some premade chalkboards for less than that, but as I mentioned, I didn’t see anything I really liked and just decided to go this route at the very end. I was happy with them, and Kevin kept telling me that he had no idea I could write in such a decorative way, so I’ll take that as a compliment that he liked them too!
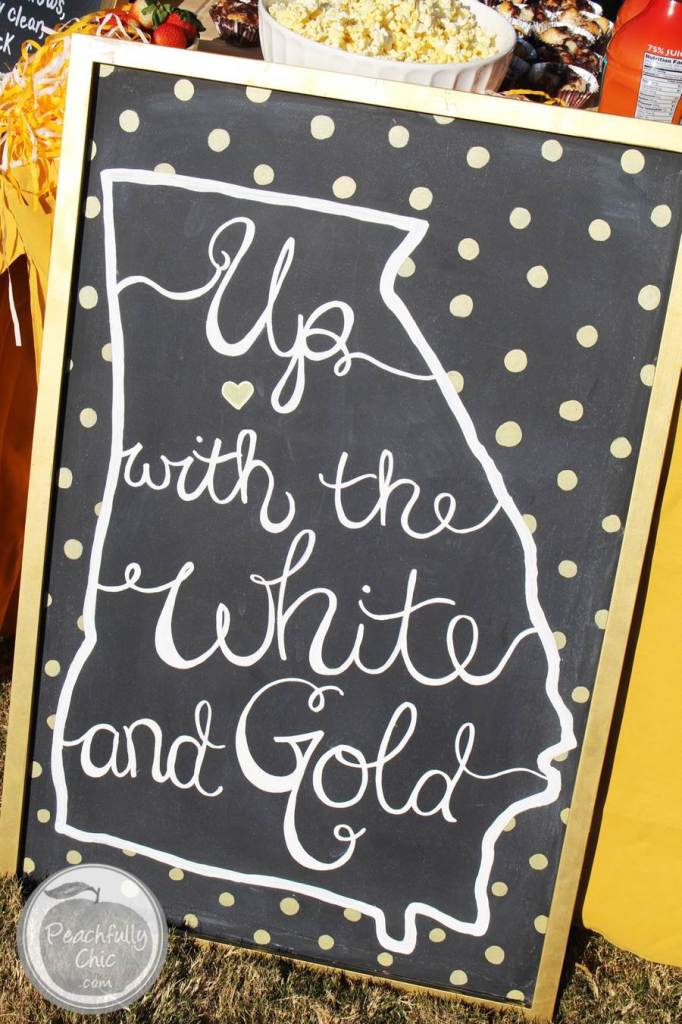
(P.S.: If you’re interested in seeing how I re-purposed these chalkboard signs for our GT vs. Clemson Ultimate Cold Weather Tailgate you can see more photos here!)
Hope this helps as you create your DIY wedding chalkboard sign or whatever your next chalkboard sign may be! Don’t forget to comment below and let me know how this worked for you!
